Microsoft Excel Posts & Guides
Use Data Validation in Excel (Create Dropdowns & Restrict Inputs)
Previous post: How to Create a Pivot Table in Excel (Step-by-Step Data Summary)
When you share an Excel spreadsheet with team members, clients, or data entry staff, a single spelling mistake can completely break your financial formulas and Pivot Table reports.
If someone types “Delhy” instead of “Delhi“, your region-based sum totals will completely fail. To prevent this, you need to use Data Validation.
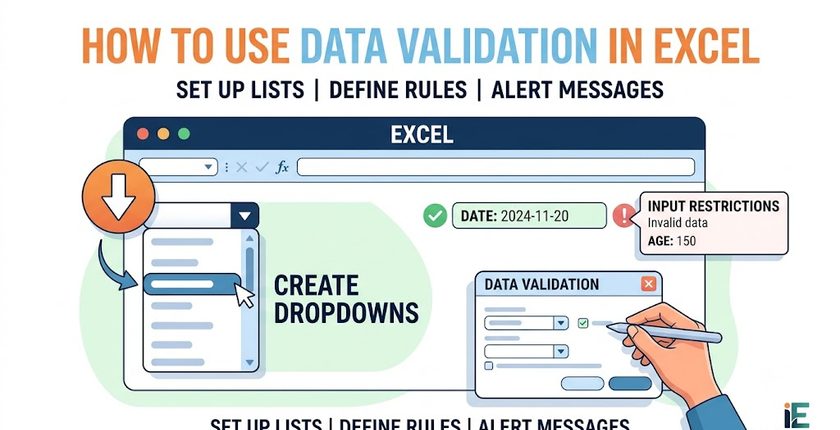
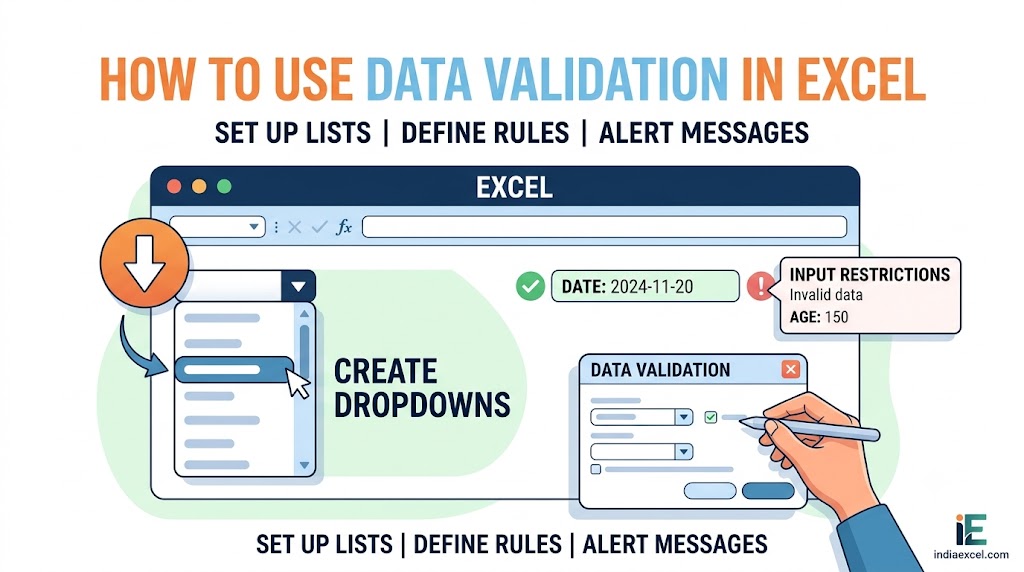
Located right inside the Data Tools group on your Data tab, the Data Validation feature allows you to build clean drop-down menus, restrict inputs to specific date ranges, and lock down your spreadsheet rows against invalid entries.
In this step-by-step tutorial, you will learn exactly how to configure Data Validation, build a drop-down selector, and custom design your own data warning popups.
Step 1: Navigating to the Data Validation Button
The configuration tool is tucked inside the primary data management ribbon:
- Click and drag your mouse cursor to highlight the specific cell range where you want to restrict inputs.
- Go to the Data tab on your main Ribbon.
- Locate the Data Tools group box near the right-center section.
- Click the Data Validation drop-down button to launch the primary options console.
Method 1: Creating a Dropdown Pick-List (The Most Popular Setup)
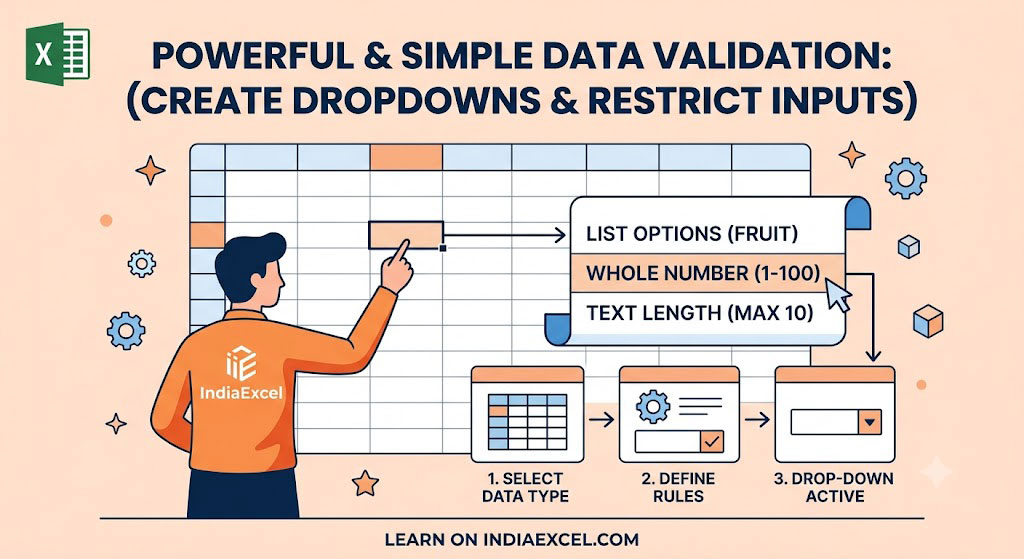
To force data entry clerks to pick from a pre-determined, standardized list of options instead of typing text manually:
1. Open the Data Validation dashboard console panel.
2. Under the Settings tab, look for the Allow: drop-down menu. Change it from Any value to List.
3. Click inside the Source: empty text field bar.
4 Type your authorized terms directly, separating them with commas:
text
North, South, East, West
5. Ensure the checkboxes for Ignore blank and In-cell dropdown are ticked. Click OK.
A small dropdown arrow icon will instantly appear next to those cells, restricting users to those exact choices.
Method 2: Restricting Number Fields and Custom Dates
You can also use this feature to make sure someone doesn’t accidentally log an impossible date or an invoice number that is too high:
- Open the Data Validation popup panel.
- In the Allow: box, change the option to Whole number or Date.
- Under the Data: criteria selector, pick between.
- Set your custom business rules (e.g., Minimum:
1, Maximum:10000). If a user attempts to input15000, Excel will instantly freeze the cell and reject the change.
🎨 Customizing Your Input and Error Popups
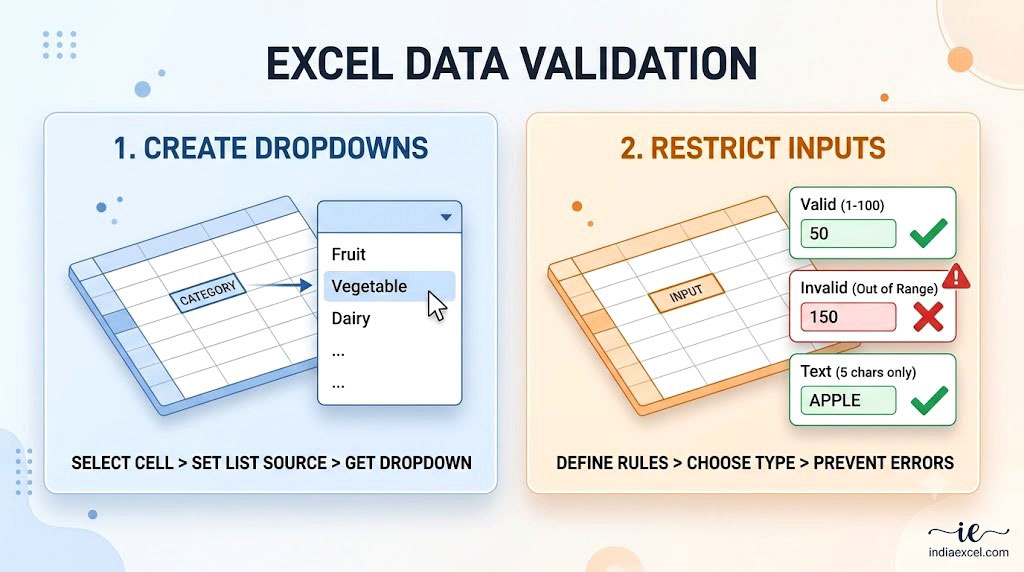
By default, Excel throws a generic, confusing alert when data validation rules are violated. You can rewrite these tabs inside the primary panel to make your sheets completely foolproof:
- The Input Message Tab: Write a friendly guide title and caption here (e.g., “Please select a state from the dropdown layout”). This helpful hint box will hover dynamically next to the user’s cursor the moment they select the cell.
- The Error Alert Tab: Customize the harsh default prompt. Set the Style to Stop and write a custom title and error message (e.g., “Invalid ID: Please check the master corporate employee registry file”), ensuring data clarity.
🛠️ Troubleshooting: How to Find and Clear Invalid Entries
1. Checking for Broken Data Points (Circle Invalid Data)
If you apply a data validation list to a pre-existing worksheet that already contains messy typing errors, Excel won’t retroactively fix them.
- The Fix: Click the tiny drop-down arrow right next to your Data Validation ribbon button and select Circle Invalid Data. Excel will instantly place bright red structural target circles around every cell that breaks your validation rules, showing you exactly where the errors are located.
2. Removing Validation Restrictions
- The Fix: Highlight the cells, open the Data Validation dialog menu panel, and click the Clear All button in the bottom left corner to instantly restore the range back to normal text functionality.
❓ Frequently Asked Questions (FAQ)
What is the keyboard shortcut to launch Data Validation?
- Windows Shortcut: Press Alt + A + V sequentially on your keyboard to instantly fire up the validation options engine panel from any view.
See Next Post: How to Remove Duplicates in Excel (The Safe Way Without Losing Data)