
Microsoft Excel Posts & Guides
Previous post: How to Create a Macro in Excel (Step-by-Step VBA Automation Guide)
Once you have recorded a few helpful macros to automate your repetitive spreadsheet workflows, remembering multiple complex keyboard combinations like Ctrl + Shift + Q or Ctrl + Shift + M can quickly become confusing.
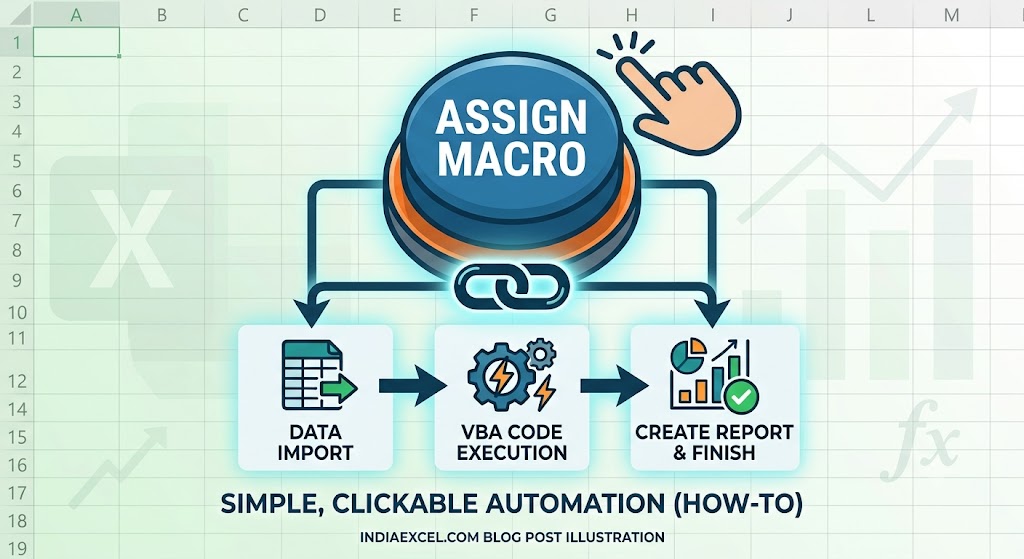
The most professional way to clean up your workspace and make your automation accessible to anyone is by creating a custom clickable macro button right inside your worksheet.
In this advanced companion tutorial, you will learn how to turn any shape or icon into a fully functional dashboard trigger, how to style your button for an executive layout, and how to fix button alignment bugs.
Method 1: The “Design-Friendly” Way (Using Insert Shapes)
The absolute best way to build clickable dashboards in modern Excel versions (2019, 2021, and Microsoft 365) is by drawing a shape. Shapes allow you to control colors, drop shadows, borders, and rounded corners to give your spreadsheet a modern software look.
Step 1: Draw Your Button Graphic
- Open your macro-enabled spreadsheet layout (
.xlsm). - Go to the Insert tab on your top Ribbon.
- Click the Shapes drop-down menu inside the Illustrations group.
- Select the Rectangle: Rounded Corners icon.
- Click and drag your mouse cursor anywhere on your grid canvas to draw your button block.
Next Step 2: Format and Add Text Labels
- Double-click inside the shape graphic you just drew to activate text mode.
- Type a clear action command (e.g., “📊 Run Financial Report” or “🧹 Clear Data Sheets”).
- Use the formatting options on your Home tab to center the text alignment, make it bold, and adjust the button’s background theme color to look professional.
Last Step 3: Link the Macro Routine
- Right-click on the edge of your finished shape graphic.
- From the context menu that pops up, select Assign Macro…
- A directory window will list all available macros embedded in your workbook. Click on the specific script name you want to connect (e.g.,
Format_Weekly_Report). - Click OK.
Method 2: The “Classic Form Control” Way (Using Developer Tools)
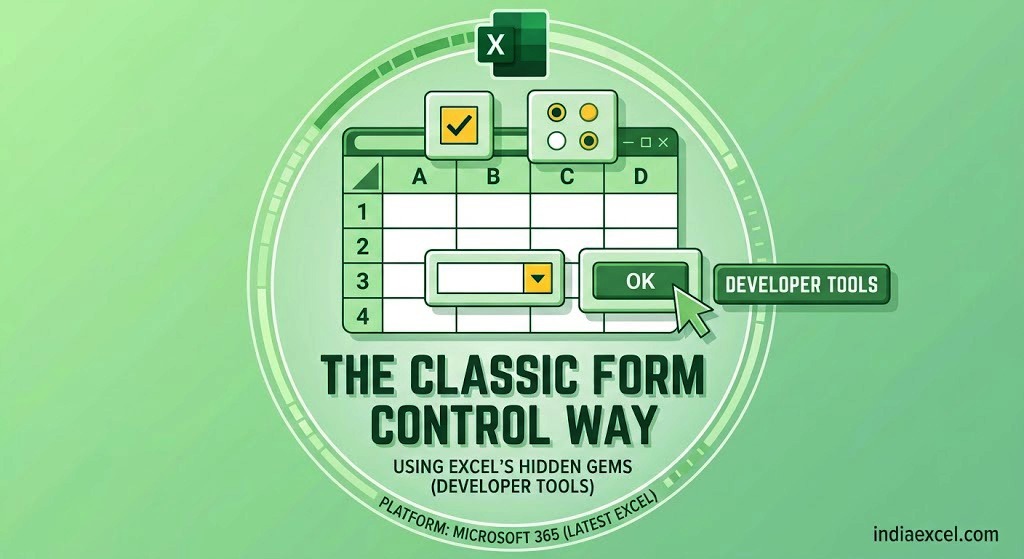
If you prefer a standardized, native gray button that perfectly matches the Windows interface look, you can inject a classic Form Control:
- Navigate over to the Developer tab on your toolbar layout.
- Click the Insert toolbox button found within the Controls group block.
- Under the Form Controls array section, click the very first icon (Button).
- Click and draw the button onto your worksheet canvas.
- The Assign Macro panel will instantly trigger automatically. Select your desired script name and hit OK.
- Right-click the button boundary box to edit the default label text.
⚠️ Critical Layout Fix: Stopping the “Stretching Button” Bug
A massive design flaw in Excel occurs when a coworker resizes or hides a row or column situated right underneath your button asset. The cell adjustment will stretch, warp, or squash your beautiful button layout out of shape.
The Step-by-Step Fix:
- Right-click on your custom shape or Form Control button and choose Size and Properties.
- A sidebar format panel panel will pop open on the right side of your screen.
- Expand the Properties structural submenu tab.
- Switch the selection toggle from Move and size with cells to Move but don’t size with cells (or Don’t move or size with cells).
This locks your graphic asset to a fixed geometric scale. No matter how many column widths are stretched or hidden underneath it, your button will retain its professional layout.
❓ Frequently Asked Questions (FAQ)
How do I edit a button after assigning a macro to it?
Once a macro is assigned, left-clicking the shape executes the code instead of selecting the item. To modify the text or change the color, right-click the shape first. This selects the boundary lines safely without firing off the background script, allowing you to edit text inside.




[…] Previous post: How to Assign a Macro to a Button in Excel (Create Clickable Automation) […]